💡 Follow these 5 steps to create your first onsite pop-up. Engage every site visitor with a well-timed form, popup, or slide-in.
Onsite is Drip’s new product that lets you create fully customized forms, popups, quizzes, and more for your website—without any coding or third-party tools needed.
And yes, Onsite is included in your Drip subscription at no additional cost.
Here’s how to create your first onsite pop-up in five simple steps.
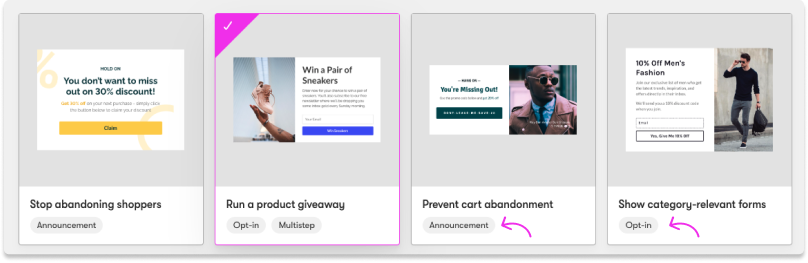
1. Pick a template 🖼
Start by selecting one of our many onsite templates in different formats.
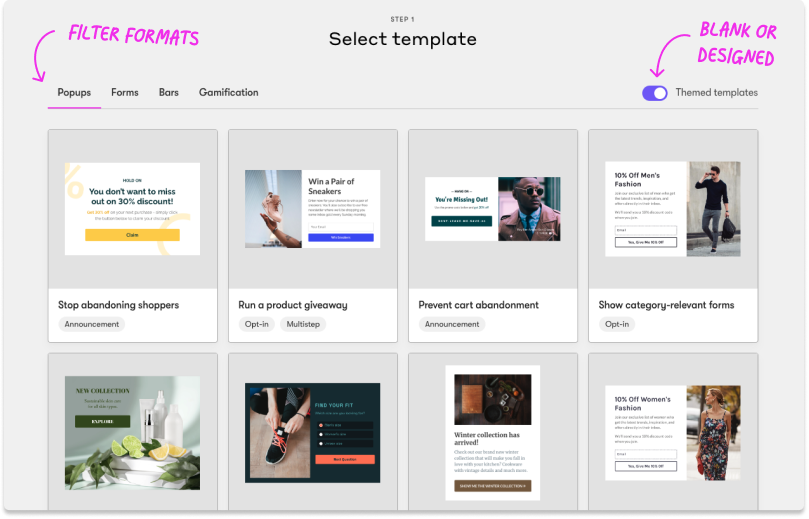
If you plan to collect emails with your onsite form, select an opt-in template, and choose announcement for other goals.
2. Choose a position 🖥
Decide where you want your form to show on the page, depending on your goal.
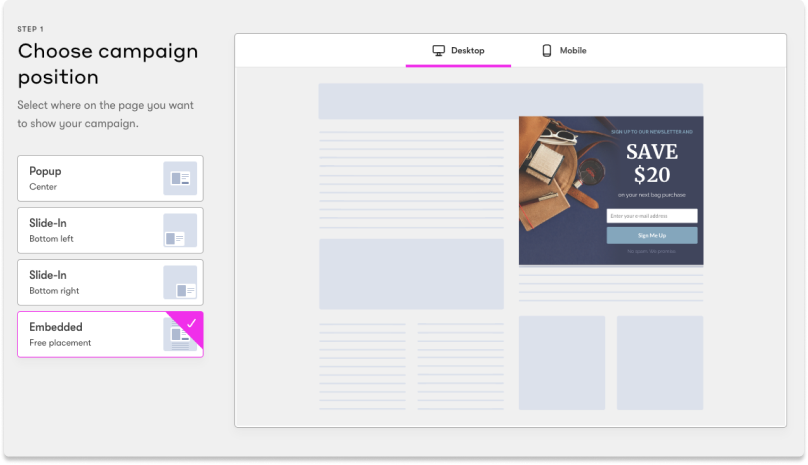
Pro Tip: Popups can be more intrusive than slide-ins, so they are better suited for critical messages and exit-intent forms.
You can embed any onsite form (except for bars) into your site in this step. You can read more about creating embedded onsite forms here.
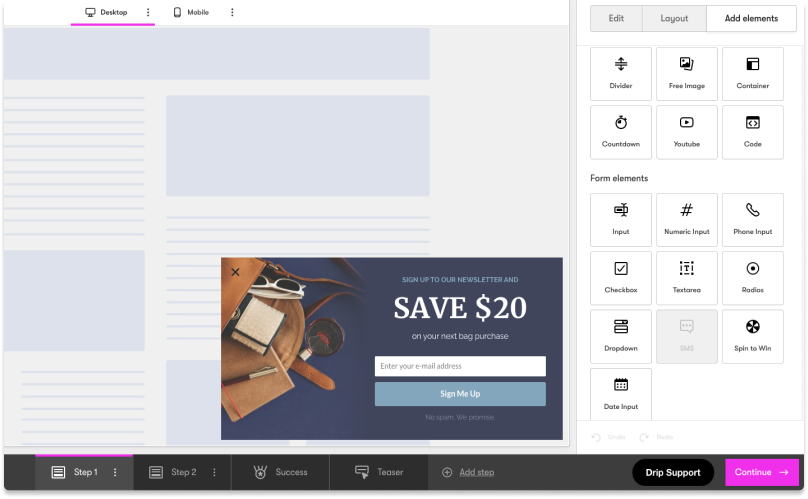
3. Customize your pop-up 🎨
Use the drag-and-drop builder to match your form design to your brand.
Add interactive elements like videos, countdown timers, and product recommendations from the right-hand menu.
Once you update your copy, images, margins, colors, and more, review your form's mobile version too.
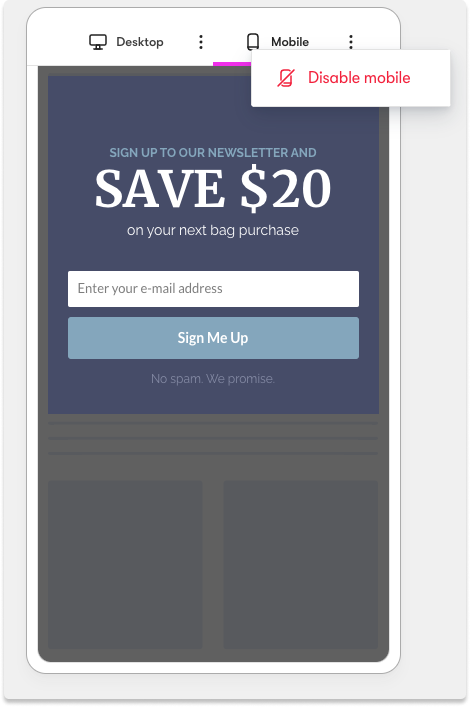
Pro Tip: Want to create device-specific forms? You can disable mobile and show your form only on desktop (or the other way around.)
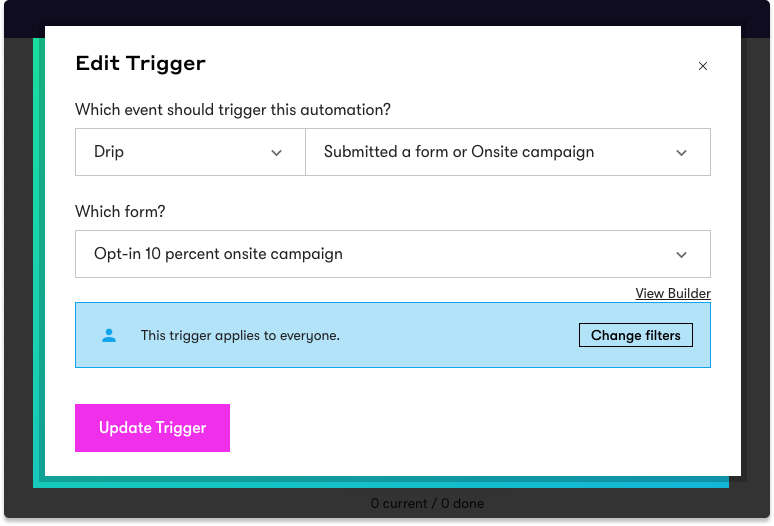
4. Set up targeting 💘
Next, you’ll want to show your form to the right people, on the right pages, at the right time.
Enter display settings.
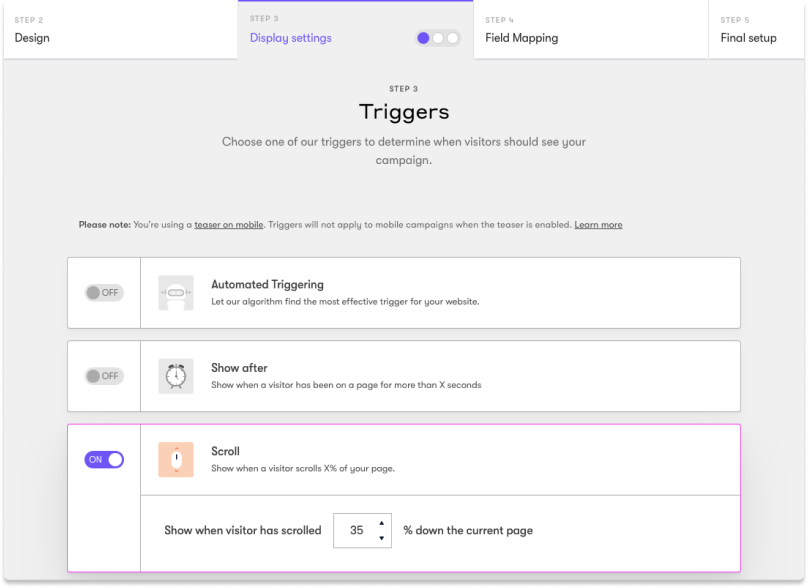
How, exactly?
- Triggers determine when visitors should see your form.
- Page-level targeting is about where your form shows.
- Targeting options define who should see your form.
So, for example, you can show your form to visitors in Minnesota who came from your Instagram ad and viewed a product page for more than 4 seconds.
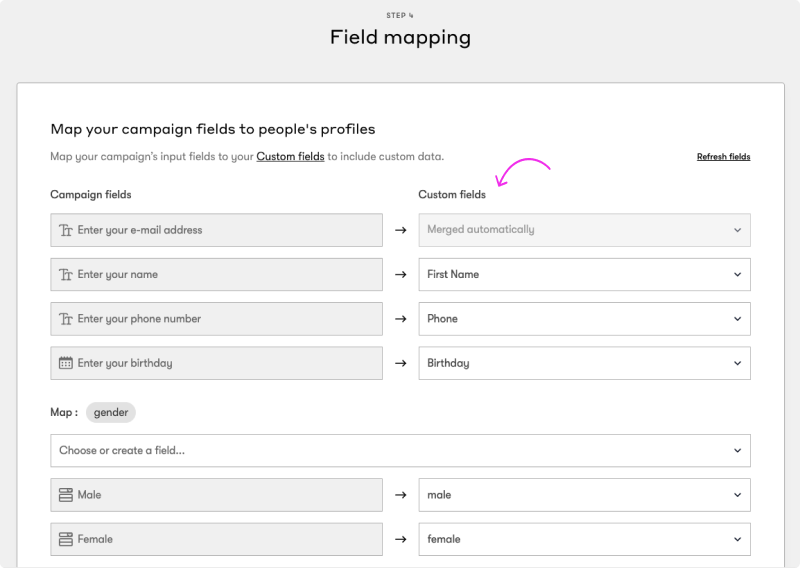
5. Map your fields ⚙️
If you’re creating an opt-in form and collecting additional data, you can update people's profiles automatically with this information.
Finally, save and activate your form, or schedule it to go live later.
And that’s it—you’ve created your first onsite form!
Now, you can trigger a workflow with your onsite form and welcome heaps of new people to your brand.